1. System Information
The benchmark environment is built on Jetstream2 using the
Big_Data_Hadoop-NEW_IMAGE. The instance utilizes a 16-core AMD EPYC-Milan CPU, 60 GB RAM,
and Ubuntu 22.04.5 LTS.
The first half of this page will walk you through how to install TigerGraph Community Edition 4.2.2 on a single VM. The second half of this page will walk you through how to install and configure TigerGraph Enterprise Edition 4.2.4 on a cluster of VMs.
2. Community Installation & Configuration
Download and Install TigerGraph
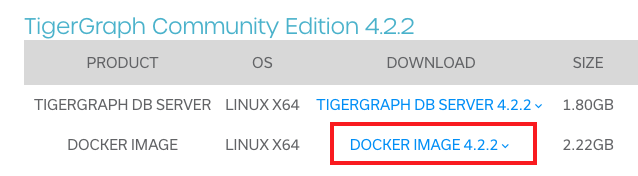
Go to TigerGraph download website and choose Community Edition docker image. You will be asked to provide some basic information about you. Then TigerGraph will send you an email with the download link. Use the link to download the Docker image to your machine.
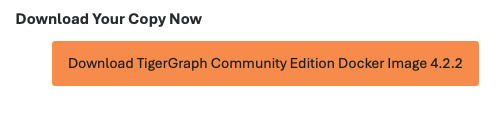
Your email should contain an orange color button like this. Click on it to get the download link.
Go to the directory where you save the TigerGraph docker image. Then use the following command to start the container.
docker load -i ./tigergraph-4.2.2-community-docker-image.tar.gz
Then use the following command to start the container. Remember to substitute in the path to your datasets. Since Hadoop File System (HDFS) is using port 9000, we need to use port 9001 for TigerGraph container. Line 6 of the following command maps your local folder containing the raw data files into the container so TigerGraph can "see" and load them..
docker run -d --name tigergraph \
    -p 14022:22 \
    -p 9001:9000 \
    -p 14240:14240 \
    --ulimit nofile=1000000:1000000 \
    -v [/path/to/datasets]:/home/tigergraph/datasets \
    -v tg-data:/home/tigergraph \
    -t tigergraph/community:4.2.2
We need to allow the ports for TigerGraph container in the firewall.
sudo ufw allow 14240/tcp
sudo ufw allow 9001/tcp
To make data import into TigerGraph easier, we can preload the raw data files (csv, json) into
TigerGraph's GUI data loading directory. The default location of data loading directory is
/home/tigergraph/tigergraph/data/gui/loading_data/tigergraph/. We execute TigerGraph bash
to copy data from the storage location to the loading location. Replace [DATASET_NAME] and
[DATASET_FILE] with the actual dataset name and file name.
docker exec -it tigergraph bash
cp /home/tigergraph/datasets/[DATASET_NAME]/[DATASET_FILE] /home/tigergraph/tigergraph/data/gui/loading_data/tigergraph/
3. Enterprise Installation & Configuration
Download and Install TigerGraph
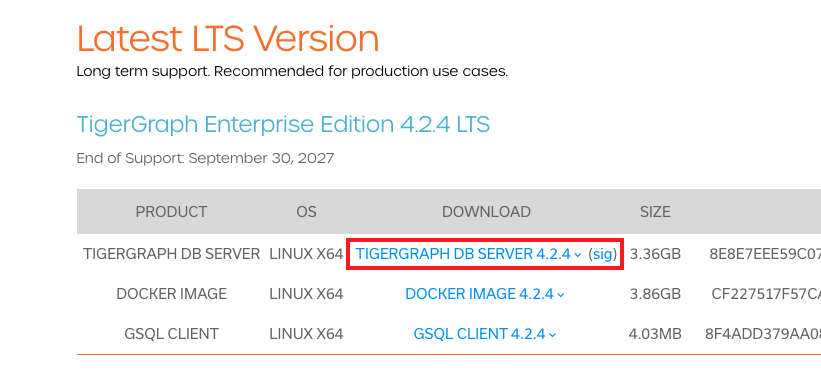
TigerGraph Enterprise Edition can be downloaded from the official TigerGraph distribution portal. Scroll down to "Latest LTS Version" and click on the blue "TIGERGRAPH DB SERVER 4.2.4" text. You will be prompted to type in some personal information. And then, the download link will be sent to your email.
scp the downloaded .tar file to your master VM. Untar it, and go into the
installer directory. Its name should be tigergraph-4.2.4-offline.
We can configure how we want to install the database by editing install_conf.json file.
Here, you can set some TigerGraph directory locations, and let TigerGraph know where are your worker
nodes. We have 6 worker VMs named ln1 to ln6. Below is an example of the
install_conf.json file (of course we masked our license key):
Here you must pay attention that the machine on which you run the installer script will not be included
in your TigerGraph cluster. Only those listed in NodeList in the below file will be part of
the cluster.
{
  "BasicConfig": {
    "TigerGraph": {
      "Username": "tigergraph",
      "Password": "tigergraph",
      "SSHPort": 22,
      "PrivateKeyFile": "/home/exouser/.ssh/id_rsa",
      "PublicKeyFile": ""
    },
    "RootDir": {
      "AppRoot": "/home/tigergraph/tigergraph/app",
      "DataRoot": "/home/tigergraph/tigergraph/data",
      "LogRoot": "/home/tigergraph/tigergraph/log",
      "TempRoot": "/home/tigergraph/tigergraph/tmp"
    },
    "License": "ilovedatabase",
    "RegionAware": false,
    "NodeList": [
      "m1: ln1",
      "m2: ln2",
      "m3: ln3",
      "m4: ln4",
      "m5: ln5",
      "m6: ln6"
    ]
  },
  "AdvancedConfig": {
    "[comment]": "Keep the default ClusterConfig if installing locally",
    "ClusterConfig": {
      "LoginConfig": {
        "SudoUser": "exouser",
        "Method": "K",
        "P": "sudoUserPassword",
        "K": "/home/exouser/.ssh/id_rsa"
      },
      "ReplicationFactor": 1
    }
  }
}
Then you may run the installer script by the following command. The -n flag enables
non-interactive installation using the configuration file. The installer validates SSH connectivity to
all nodes, deploys TigerGraph services on each worker node, initializes distributed coordination
services, and starts the TigerGraph cluster.
sudo ./install.sh -n
Upon successful installation, your terminal will print this:
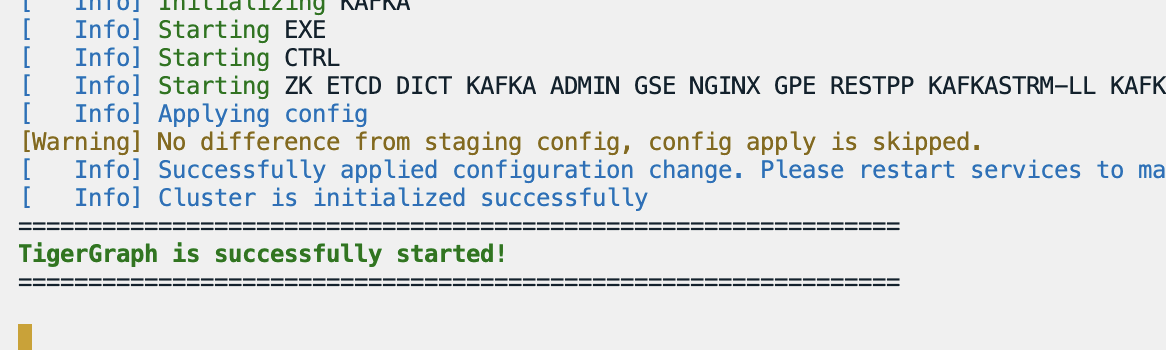
To verify that TigerGraph Enterprise cluster is running, ssh to one of the machines listed
in the NodeList, and run this:
sudo -iu tigergraph
In TigerGraph shell, run:
gadmin status
You should see all the TigerGraph services listed as "Running" or "Online".
4. Using Web Interface
Navigate to http://[IP_ADDRESS]:14240 in your browser. Login with username
tigergraph and password tigergraph. These are the default username and
password for TigerGraph. Your webpage will look like the below image.
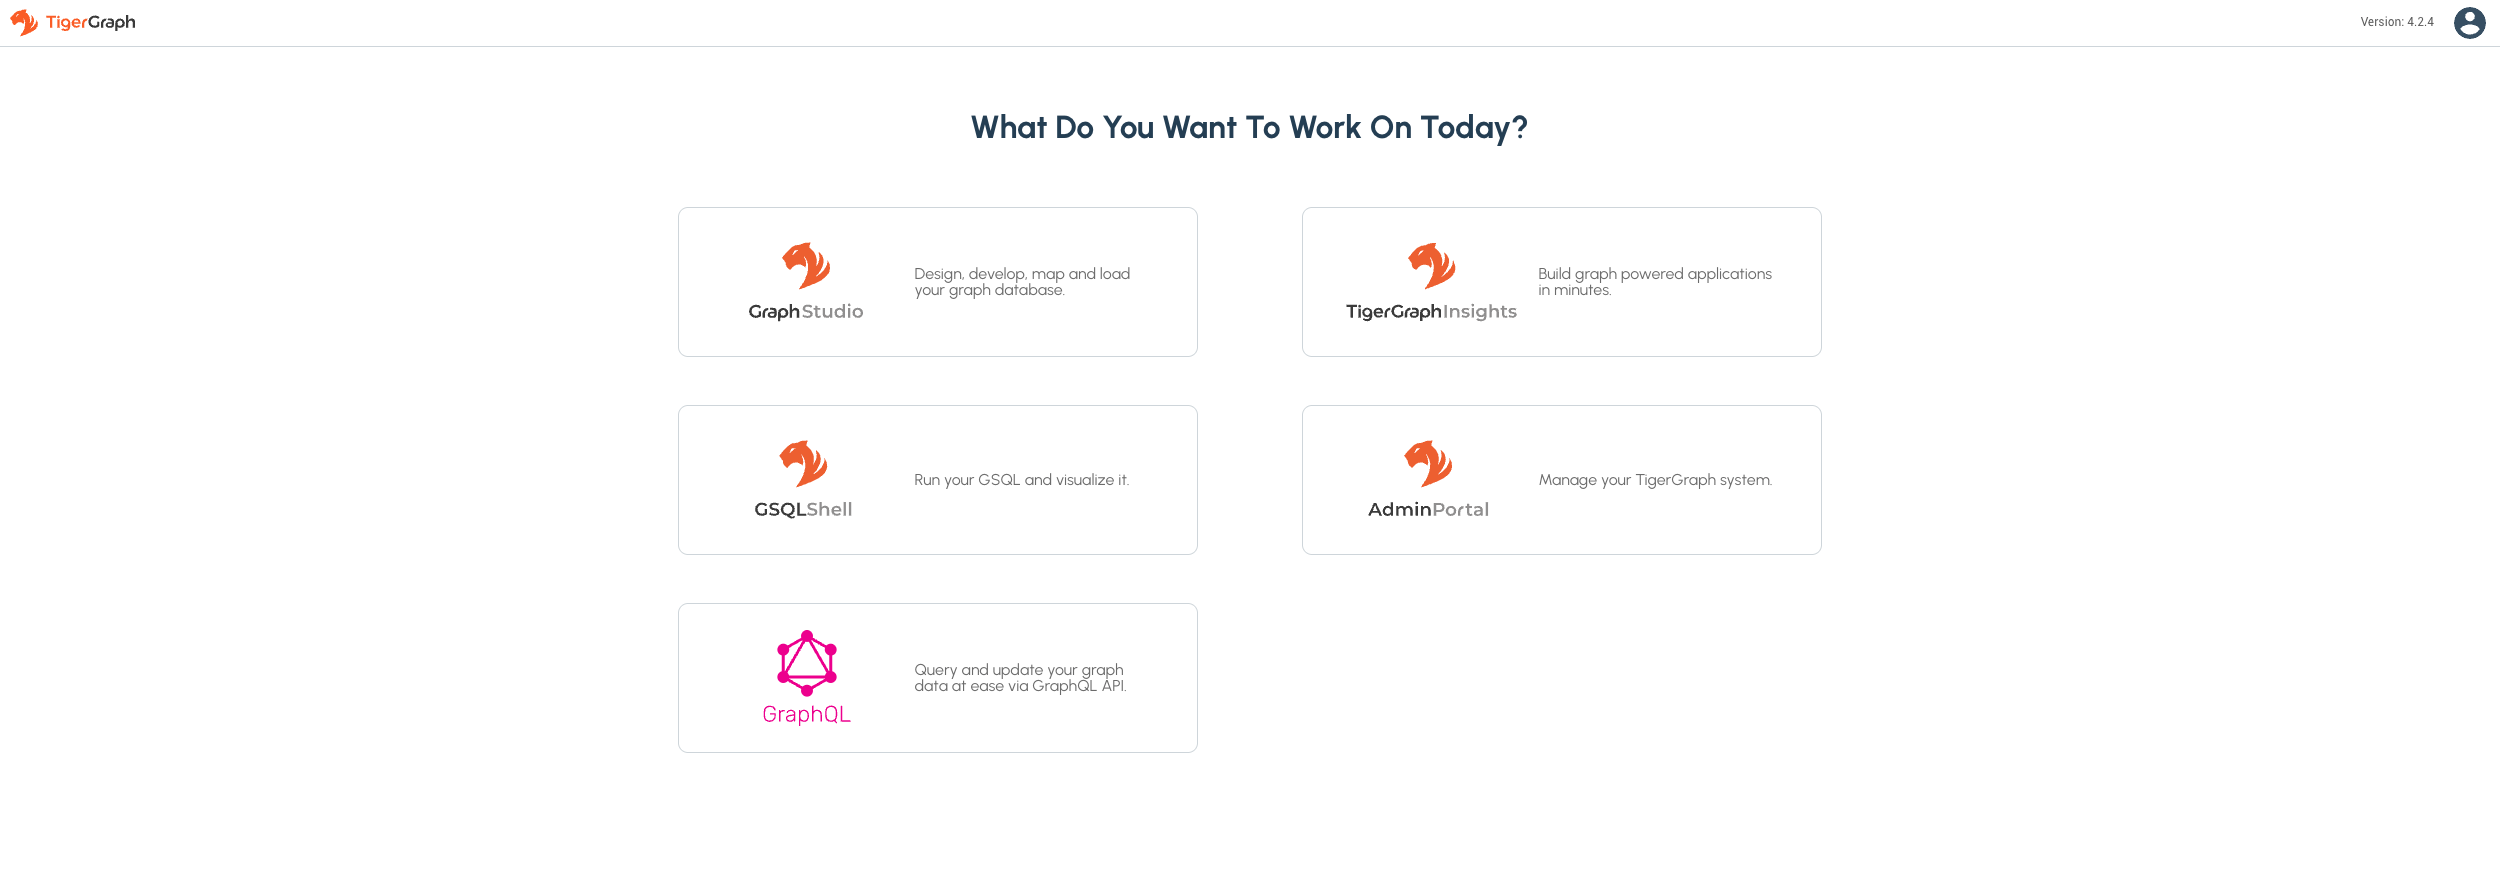
You can either use the graph-based tool GraphStudio or the text-based tool GSQLShell to create a new graph. Click on "GraphStudio" and you will see a page like the below image. Click on "Design Schema" to continue to use the interactive GUI to finish setting up your graph schema.

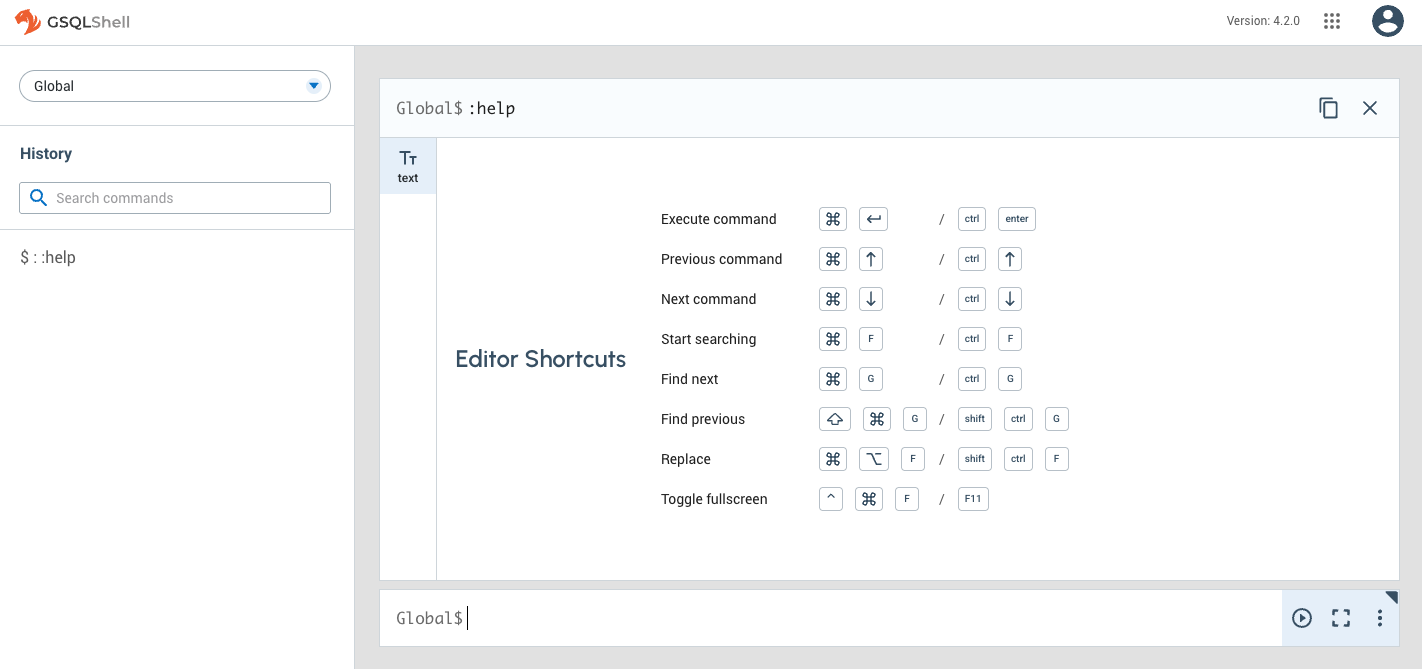
Click on "GSQLShell" and you will see a page like the below image. You can use GSQL to create a new graph.