1. System Information
The virtual machine that we used is built from the Big_Data_Hadoop-NEW_IMAGE image on Jetstream2 with a 16-core AMD EPYC-Milan CPU using x86_64 architecture, 60 GB RAM, and 60 GB storage. The operating system is Ubuntu 22.04.5 LTS with the Linux 6.8.0-90-generic kernel.
2. Installation & Configuration
Data Storage Configuration Overview
We store our raw csv and json files on Hadoop File System (HDFS). We use HDFS because it is a distributed file system that is designed to store large amounts of data. We have also set up a Hive Metastore (HMS) to store metadata about our data. We use Delta Lake formats to store our processed data. In the remaining parts of this document, we will assume you already have a running Spark cluster.
Installing PostgreSQL
PostgreSQL is a relational database management system (RDBMS) that is designed to store and manage structured data. We use PostgreSQL to store our metadata about the datasets we use. While Hive comes with its own metadata management system called "Derby", it does not work on a distributed environment. Therefore, we need to install PostgreSQL as the metastore database system. To install PostgreSQL, run:
sudo apt update
sudo apt install postgresql postgresql-contrib
After installation, you can start the PostgreSQL service by running:
sudo systemctl enable postgresql
sudo systemctl start postgresql
By default, PostgreSQL runs on port 5432. You can verify this by running:
sudo netstat -plnt | grep 5432
As Hive does not support sram-sha-256 and ssl, we need to configure PostgreSQL properly. We run:
sudo nano /etc/postgresql/14/main/postgresql.conf
And make sure the following lines are present:
listen_addresses = '*'
ssl = off
password_encryption = md5
And then, modify the host-based authentication (HBA) configuration file by running:
sudo nano /etc/postgresql/14/main/pg_hba.conf
And add these lines:
host all all 10.2.223.0/24 md5
host metastore hive 10.2.223.0/24 md5
In addition, you also need to change all sram-sha-256 occurences in this file to
md5.
After that, restart the PostgreSQL service to apply the changes by running:
sudo systemctl restart postgresql
Installing Hive
First, we need to create the Hive metastoredatabase instance in PostgreSQL. Switch to Postgre user by:
sudo -i -u postgres
Then enter Postgres shell by running:
psql
Then create the Hive metastore database by running inside the Postgres shell:
CREATE DATABASE metastore;
CREATE USER hive WITH ENCRYPTED PASSWORD 'hivepassword';
GRANT ALL PRIVILEGES ON DATABASE metastore TO hive;
\q
The last line of code helps you exit the Postgres shell. To verify successful creation of the database, run the following command to see if you can enter back into the Postgres shell:
psql -h master -p 5432 -U hive -d metastore
Upon successful entry to the Postgres shell, you can run \q to exit the Postgres shell.
Next, we install Apache Hive package.
wget https://archive.apache.org/dist/hive/hive-3.1.3/apache-hive-3.1.3-bin.tar.gz
tar -xvzf apache-hive-3.1.3-bin.tar.gz
rm apache-hive-3.1.3-bin.tar.gz
mv apache-hive-3.1.3-bin/ ~/hive
Next, we need to set up the Hive environment variables. Add the following lines to your
~/.bashrc file:
export HIVE_HOME=~/hive
export PATH=$PATH:$HIVE_HOME/bin
Run source ~/.bashrc to apply the changes. Then, we need to install PostgreSQL JDBC driver:
wget https://repo1.maven.org/maven2/org/postgresql/postgresql/42.7.3/postgresql-42.7.3.jar -P $HIVE_HOME/lib
Configuring Hive
Next, we need to configure Hive to use the metastore database. Create a new file called
hive-site.xml in the conf directory of your Hive installation. Then edit it
with the following lines. Remember to substitute [YOUR_MACHINE_NAME] with the name of your machine:
nano $HIVE_HOME/conf/hive-site.xml
Then, add the following lines to the hive-site.xml file:
<configuration>
  <property>
    <name>javax.jdo.option.ConnectionURL</name>
    <value>jdbc:postgresql://[YOUR_MACHINE_NAME]:5432/metastore</value>
  </property>
  <property>
    <name>javax.jdo.option.ConnectionDriverName</name>
    <value>org.postgresql.Driver</value>
  </property>
  <property>
    <name>javax.jdo.option.ConnectionUserName</name>
    <value>hive</value>
  </property>
  <property>
    <name>javax.jdo.option.ConnectionPassword</name>
    <value>hivepassword</value>
  </property>
  <property>
    <name>hive.metastore.warehouse.dir</name>
    <value>/user/hive/warehouse</value>
  </property>
  <property>
    <name>hive.server2.thrift.port</name>
    <value>10000</value>
  </property>
  <property>
    <name>fs.defaultFS</name>
    <value>hdfs://[YOUR_MACHINE_NAME]:9000</value>
  </property>
</configuration>
Save this file and broadcast it to all nodes in your cluster.
Next, we need to prepare your HDFS for Hive. Create the following directories on your HDFS by running:
hdfs dfs -mkdir -p /user/hive/warehouse
hdfs dfs -chmod -R 1777 /user/hive/warehouse
hdfs dfs -mkdir -p /tmp
hdfs dfs -chmod -R 1777 /tmp
We can start Hive service now. Run these commands. The first command initializes the Hive metastore schema, and the second command starts the Hive metastore service.
$HIVE_HOME/bin/schematool -dbType postgres -initSchema
$HIVE_HOME/bin/hive --service metastore &
Next, we need to configure Hive to allow proxy users. When you run a graph query through PuppyGraph, the
service might be running as the system user exouser, but the data it needs to read on HDFS belongs to a
specific project user. These settings allow the engine to "switch" its identity to the data owner to
pass HDFS permission checks. Add the following to the file
$HADOOP_HOME/etc/hadoop/core-site.xml:
<property>
  <name>hadoop.proxyuser.exouser.hosts</name>
  <value>*</value>
</property>
<property>
  <name>hadoop.proxyuser.exouser.groups</name>
  <value>*</value>
</property>
Then broadcast this file to all nodes in your cluster.
Next we need to configure Spark to use Hive. Add the following to the file
$SPARK_HOME/conf/spark-defaults.conf. Remember to replace the values with your own:
spark.sql.catalogImplementation=hive
spark.sql.warehouse.dir=hdfs://master:9000/user/hive/warehouse
spark.hadoop.javax.jdo.option.ConnectionURL=jdbc:postgresql://[YOUR_MACHINE_NAME]:5432/metastore
spark.hadoop.javax.jdo.option.ConnectionDriverName=org.postgresql.Driver
spark.hadoop.javax.jdo.option.ConnectionUserName=hive
spark.hadoop.javax.jdo.option.ConnectionPassword=hivepassword
spark.hadoop.hive.metastore.uris=thrift://[YOUR_MACHINE_NAME]:9083
spark.hadoop.fs.defaultFS=hdfs://[YOUR_MACHINE_NAME]:9000
Then broadcast this file to all nodes in your cluster. We also need to copy the JDBC driver to Spark. Run
this command and then use scp to also make sure the driver appears in the Spark of all
nodes.
cp $HIVE_HOME/lib/postgresql-42.7.3.jar $SPARK_HOME/jars/
scp $HIVE_HOME/lib/postgresql-42.7.3.jar [YOUR_WORKER_MACHINE_NAME]:$SPARK_HOME/jars/
Now we have finished all the configuration work. Restart Spark on all nodes.
stop-all.sh
start-all.sh
You can test if Spark is connected to Hive by running:
spark-shell
In the shell, run and check if you can find Hive metadata table:
spark.sql("SHOW DATABASES").show()
Download and Install PuppyGraph
We run PuppyGraph in a docker container. To build a docker image of the latest version of PuppyGraph, execute these commands:
docker run --network=host -d --name puppy --rm \
  -e DATAACCESS_DATA_CACHE_STRATEGY=adaptive \
  --pull=always puppygraph/puppygraph:0.113
You might need to allow ports 8081 and 8182 in your firewall. Port 8182 is for Gremlin queries. Gremlin is the graph traversal language used by ApacheTinkerPop. If you do want to run Gremlin queries, make sure this port is allowed.
sudo ufw allow 8081/tcp
sudo ufw allow 8182/tcp
After the container is built, you can access the PuppyGraph web interface at
http://[YOUR_MACHINE_IP]:8081. The default username and password are
puppygraph and puppygraph123. Use these to log in to your PuppyGraph instance.
3. Accessing Data
Open your browser and navigate to http://[YOUR_MACHINE_IP]:8081. To run queries on your data
on PuppyGraph, you need to first have a catalog. A catalog is a is a configuration object that defines a
connection to an external data source, such as Delta Lake, Apache Iceberg, or a Hive Metastore (HMS). It
serves as the bridge between PuppyGraph's query engine and the physical storage where your data resides.
There are two ways to load the catalog. The first is to use the web interface. The second is to use a
catalog.json file.
Using the Web Interface
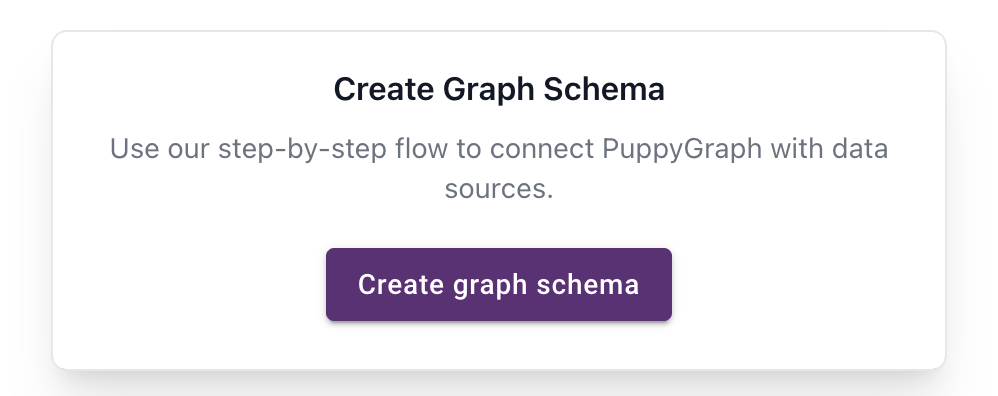
Select "Schema" from the left sidebar to go to the schema page. Click on "Create graph schema" on the top card.
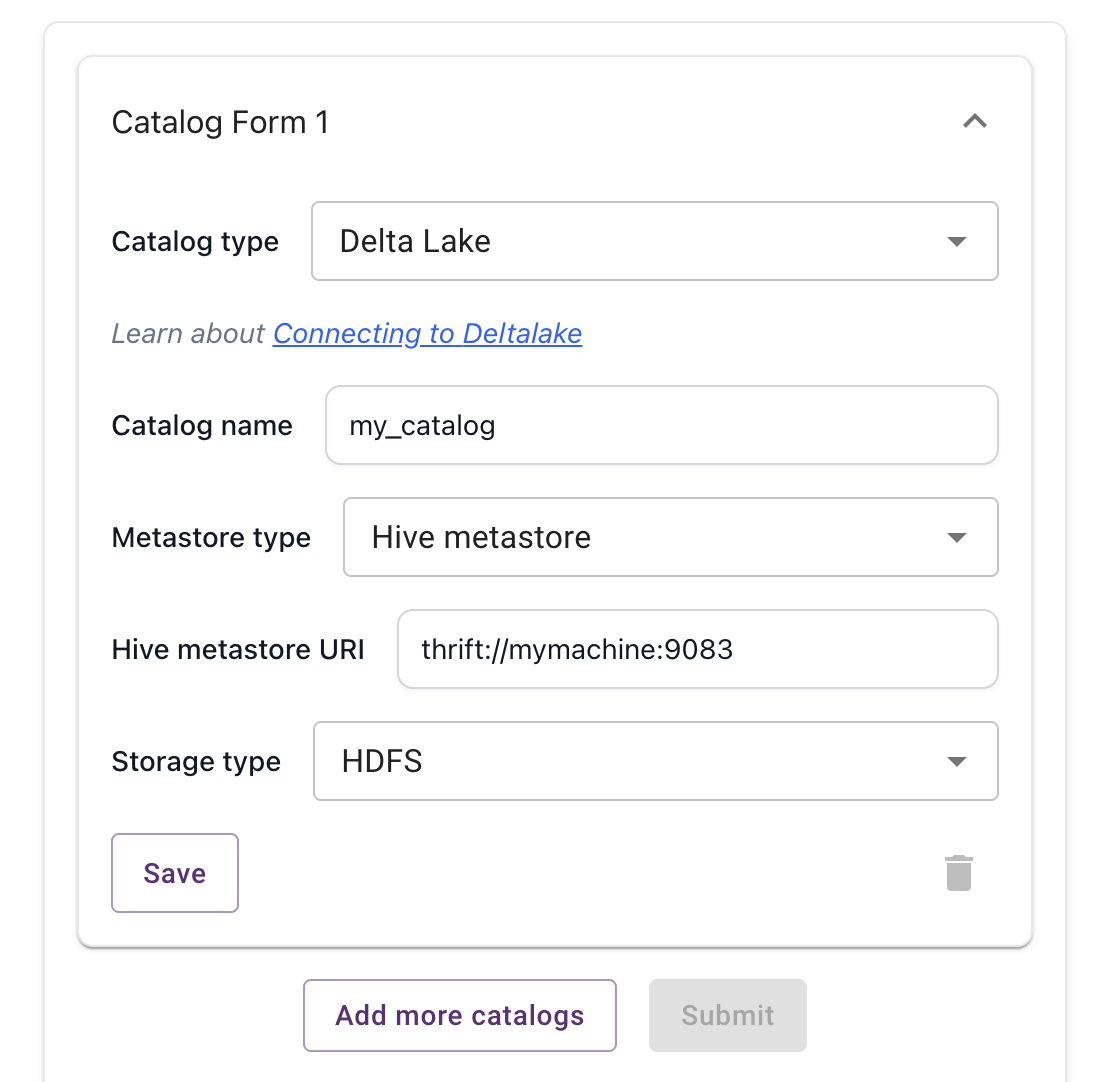
Fill in the required fields and click "Save". Since we are using Delta Lake and Hive Metastore, select
"Delta Lake" from the list of available catalog types and "Hive metastore" from the list of available
metastore types. The metastore URL in our case is thrift://[YOUR_MACHINE_IP]:9083. 9083 is
the default port for Hive Metastore. We are using Hadoop File System (HDFS) as our storage backend. So
we select "HDFS" as our storage type. Click "Save" to save the catalog configuration, and "Submit" to
create the catalog.
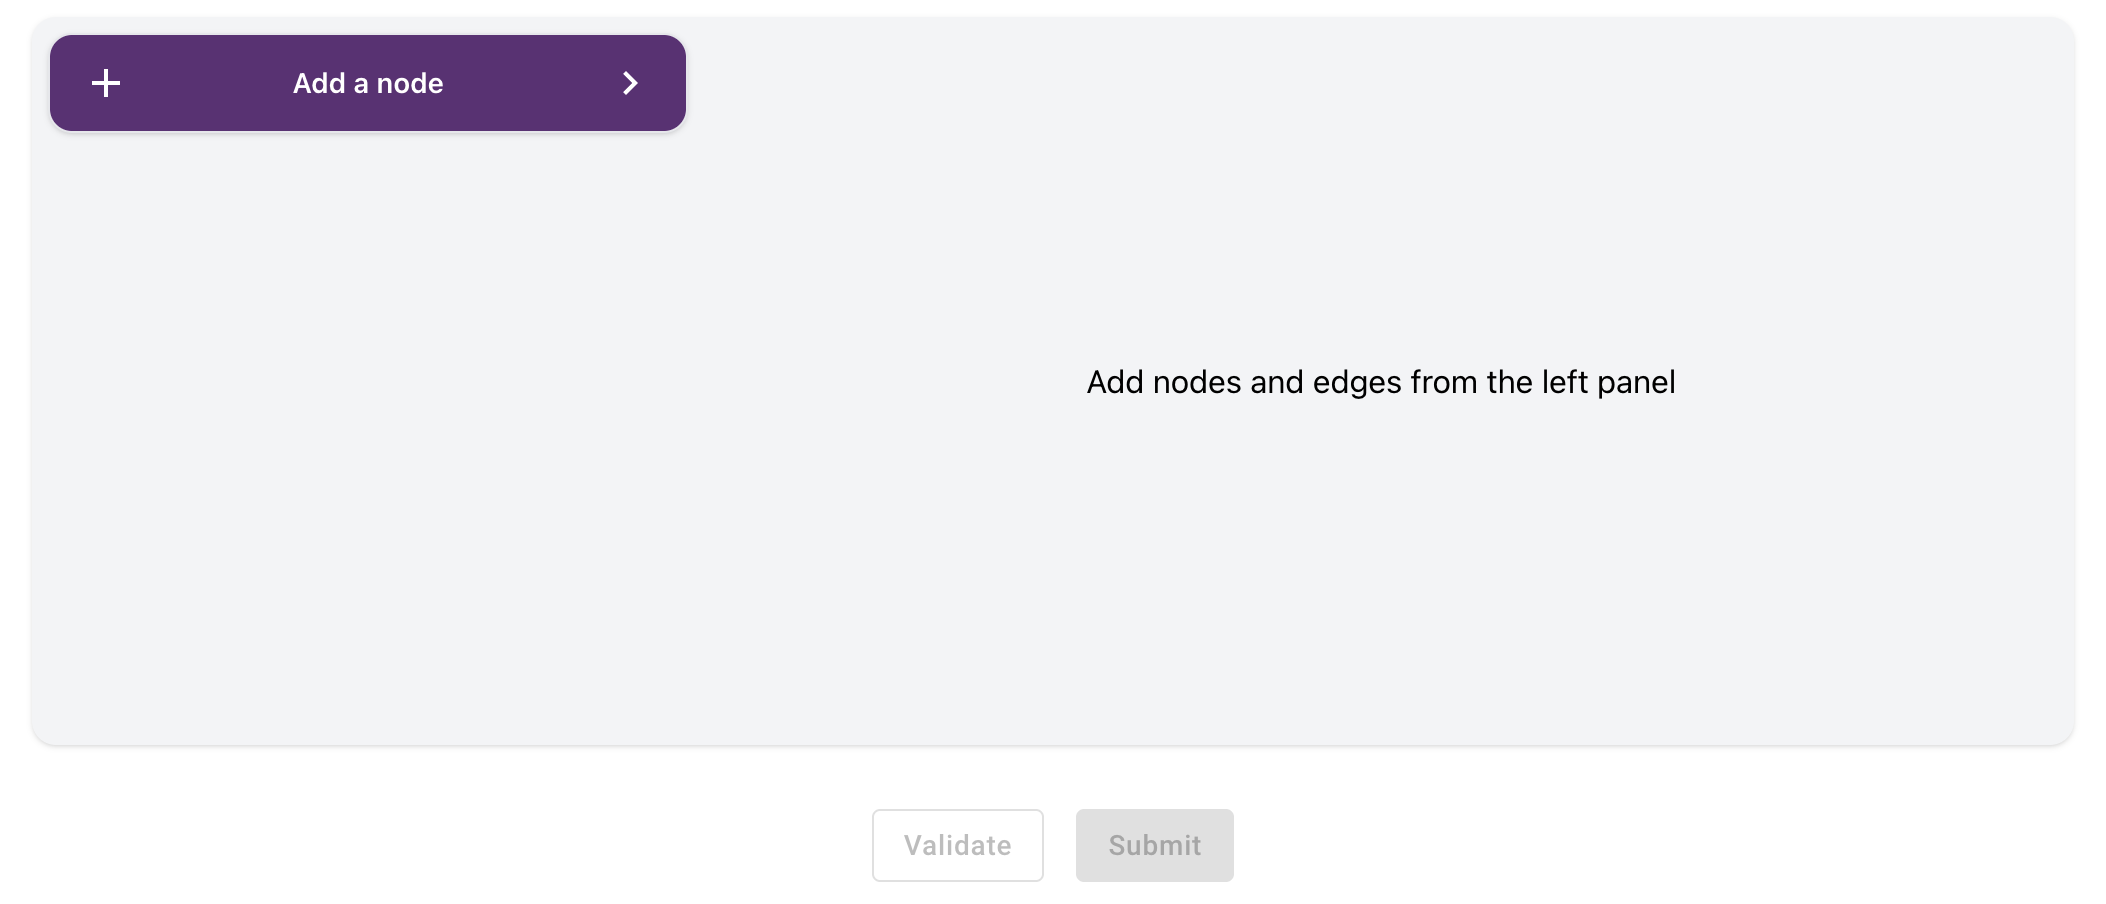
In the next page, you will be able to create nodes and edges to map the table columns to the property graph attributes you want. When all nodes and edges are set up, click on "Submit" to finish building your graph schema.
Using a Catalog File
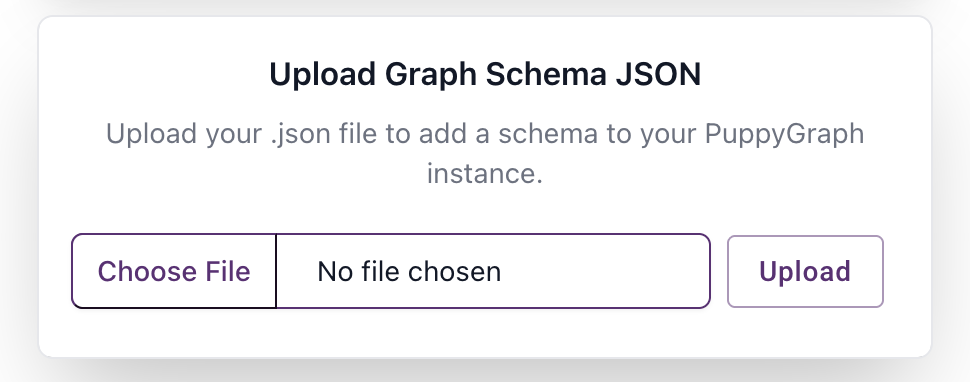
Alternatively, if you are very clear about the structure of the property graph you are creating and have
the schema.json file ready, you can simply upload a catalog file to define the graph
schema. From the "Schema" page, click on "Choose File" on the second card from the top. Select your
schema.json and click on "Upload" to finish creating your catalog.
The two ways to creating a catalog are equivalent. The webUI simply helps you create the
schema.json file.
Running Cypher Queries
After the catalog is created, you can run cypher queries by going to the "Query" page. Select "Query" from the left sidebar.